Our How to Replace Your Kitchen Cabinet Doors PDFs


The smart Trick of Attaching Faux Doors to an Island Back - Woodweb That Nobody is Talking About
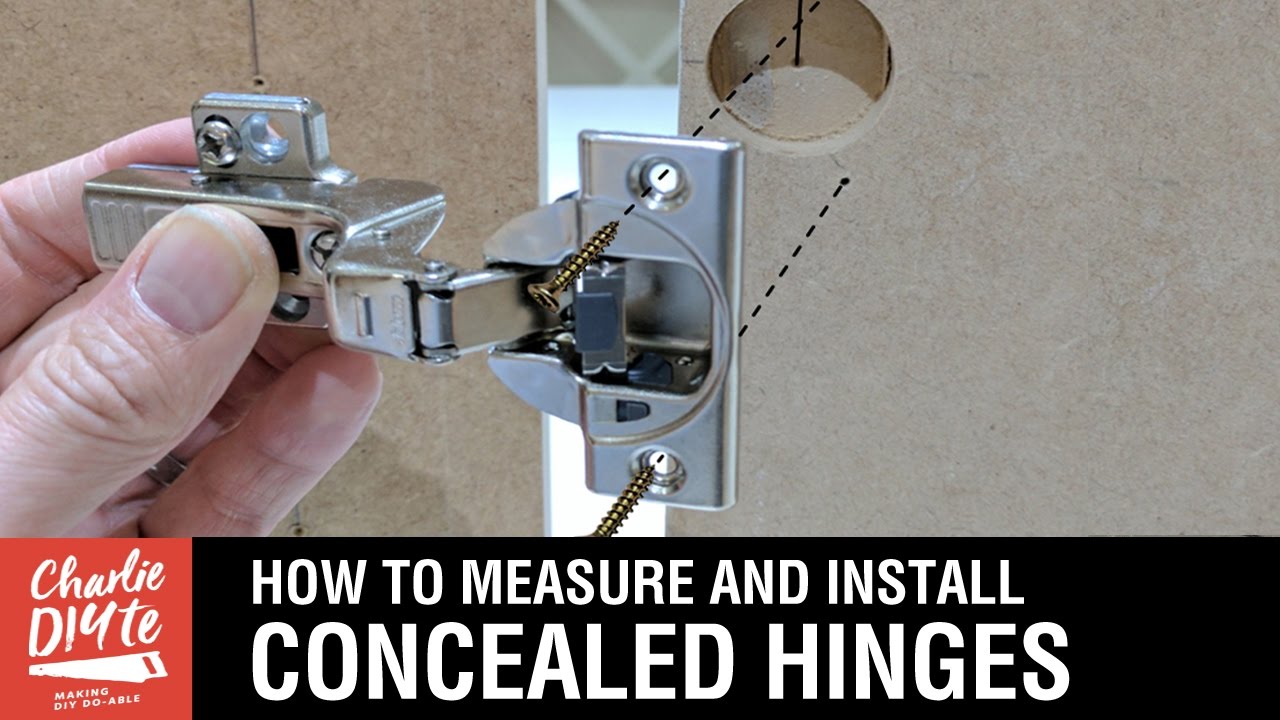
Notice how this door is wobbling at the top? So, there's two methods to adjust these hinges - the back screw will change the hinges in and out off the face frame to stop that wobble. The other screw in the front is to change the door going left and right.
At the top we have 3/4" and at the bottom we're revealing 5/8", so I could run that front screw out to bring that door over until it's where you need it be. So now smartliving is tight on the leading and the bottom, even across the bottom, your expose is even, and it remains in line with the other doors next to it.

Door & Drawer Front Styles - Cabinet Joint
How To Install Cabinet Hardware Using A Template - Home Fundamentals Explained
Today, we're going to reveal you how to order your drawer box for your cooking area for the soft close undermount guide system. First thing you'll discover about these boxes - they're solid wood, 5/8" thick with a dovetail corner - extremely solid drawers. With the undermount system, you're going to need to look at the website that you order for "notch and bore" to permit the guides to sit in the back of that drawer.
10-Minute Home Repairs - Home repair, Home maintenance, Home repairs
In this case, the opening is 21", so the drawer box is going to measure 20-5/8" when you purchase it. The height requires to be 3/4" smaller than the opening. In this case, the drawer box opening is 4-3/4", so you would order a 4" drawer box. So, there's a couple different pieces to the undermount system.

How to Install Overlay Kitchen Cabinet Hinges • Roots & Wings Furniture LLC
Getting The Cost to Replace Cabinet Doors - Homewyse To Work
The rails come in 3" increments, starting at 9 inches and you can get them all the way as much as 30 inches for unique applications. The next thing you're going to need to do is mount your rail into the cabinet itself. There's 2 methods to mount these - if you have the old style cabinetry that does not have an inset here in the face frame, you can connect simply utilizing these holes in the side of the rail.
So, we're installing the bracket to the back of the cabinet. Then we can install our guide into that foot. It moves right into that foot. Now, the front of the guide - this second notch lines up with the within of the face frame so you know you have the correct distance.